Overview
Setting up Auth0 to work with Limble is quick and simple to do.
If a user has SSO enabled, they will only be able to login using SSO.
This article will walk you through the process of setting up SSO for Auth0.
Table of Contents
Step 1: Setup in Auth0
Login to your Auth0 account.
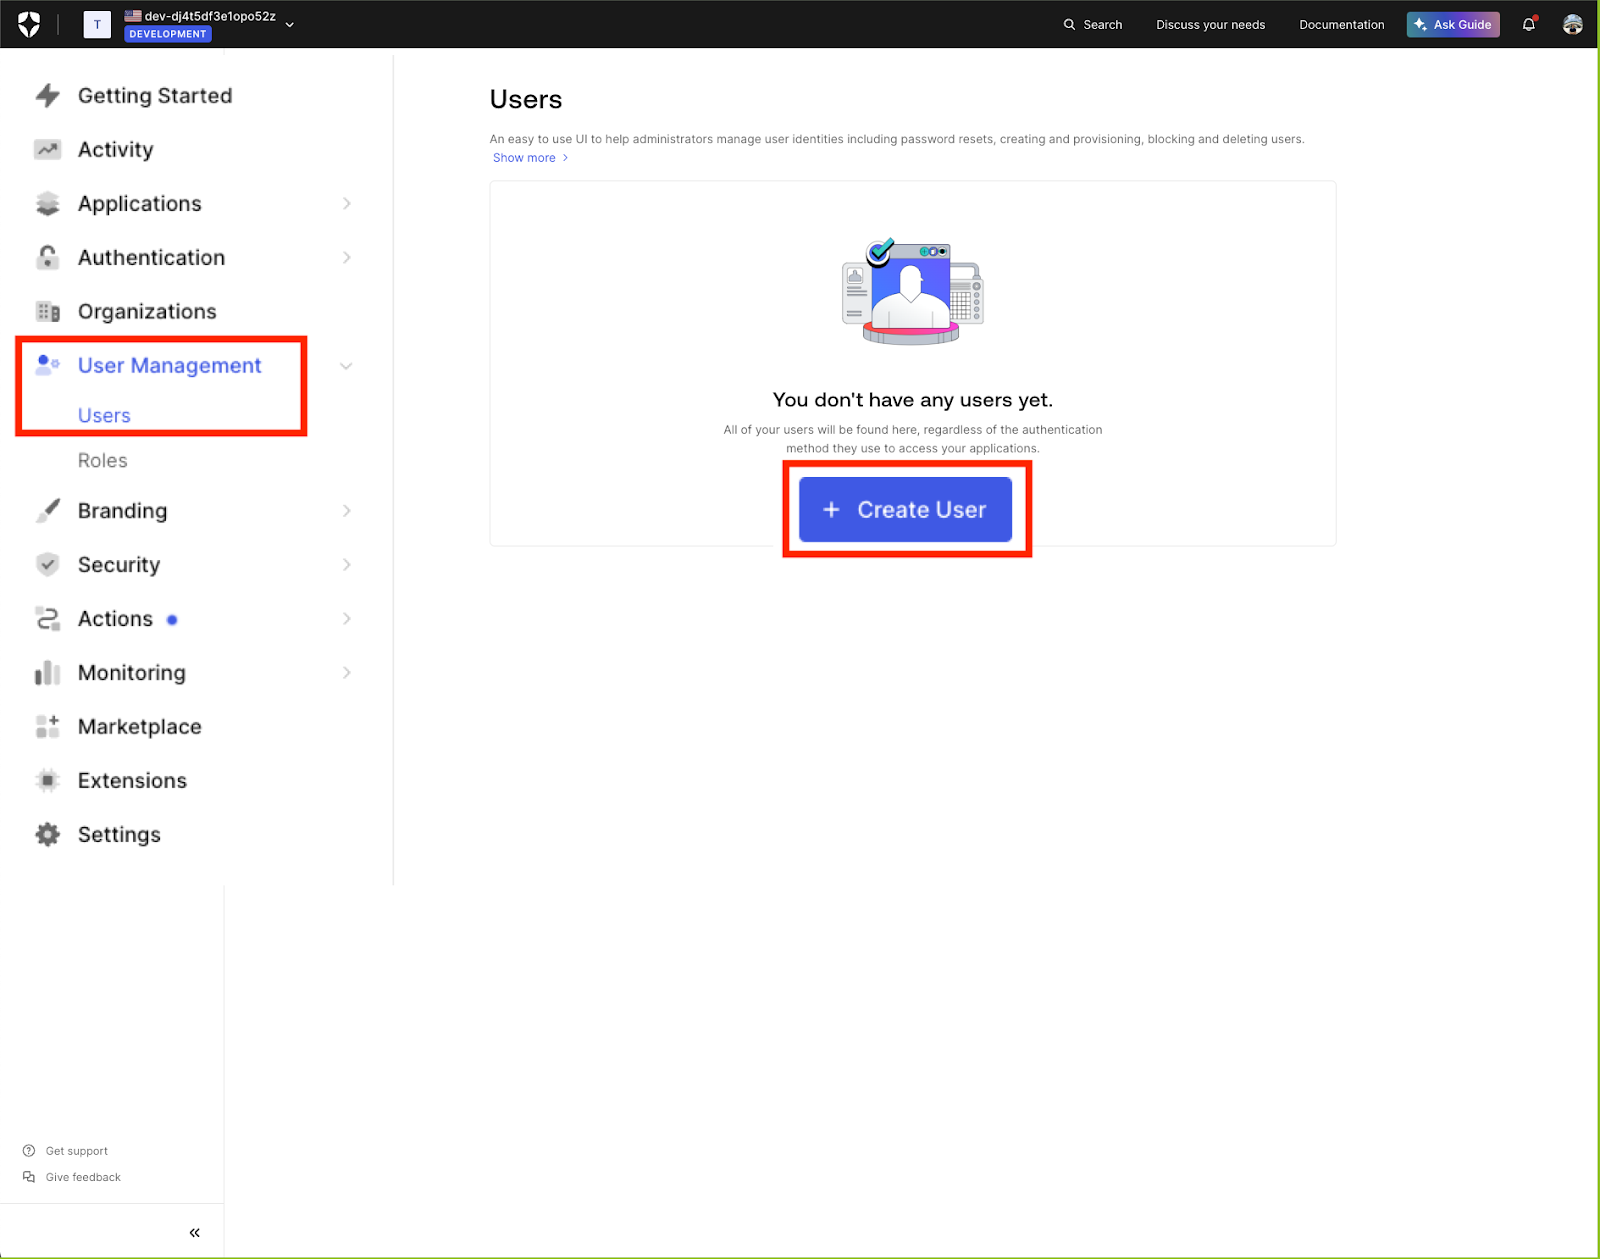
If you don't have users created in Auth0, expand this section and follow the steps included within.
If you don't have users created in Auth0, expand this section and follow the steps included within.
Go to the User Management page > Users tab, and clicking “Create User.”
Fill out user credentials in the new window and repeat this process for all Limble users.

Go to Applications from the navigation menu. On the page, click “Create Application.”
In the new window, name your application. Use a name that you will know is associated with Limble’s SSO.
From the application type options, select “Single Page Web Applications.” Then, click “Create.”
Once you’ve created your application, click on Settings tab.
Scroll down to the Application URIs section.
Enter https://*auth.limblecmms.com/ssoLogin in the textbox under Allowed Callback URLs.
Make sure to save your changes by clicking “Save Changes.”
Scroll back up Basic Information section. You will need the domain, client ID, and client secret to enable SSO in Limble.
Step 2: Setup in Limble - Settings Page
Once you've configured the application in Auth0, you can log into Limble and enable SSO.
This must be done by a Super User since they are the only users who can access the Settings page.
Navigate to Settings > Manage SSO. In the dropdown under "SSO Provider," select "Auth0."
Enter the SSO domain, client ID and client secret from Auth0. Then, click “Enable SSO.”
Step 3: Setup in Limble - Manage Users Page
Once SSO has been enabled for your account, navigate to the Manage Users page.
You will need to enable SSO for each user individually. To do this, click on the handshake icon next to the user’s name.
In the new window, click "Yes" to confirm your selection.
When SSO is enabled for a user, it will be indicated with a green checkmark next to the handshake icon.
(Note: In order for SSO to function, you must use the user's SSO email as their Limble login.)
Step 4: Logging in as a User
Once you have configured these settings, your users are ready to login with SSO.
From the Limble login screen, click "Login with SSO."
Enter the login credentials in the textbox, then click "Continue to SSO."
The user will be prompted to validate their Auth0 credentials. Then, they will be taken to the Limble homepage.
Related Articles
Still don’t see what you’re looking for? Check out our YouTube channel for more tips and tricks! You can also reach out to us anytime at support@limblecmms.com.