Overview
QR codes are one of the most utilized features in Limble, and printing them on labels is easy to do.
With the exception of high-quality, durable-grade labels, you do not need any specialized equipment, software, or printers to print labels in Limble. We recommend using labels from Avery.
In this article, learn what your QR code labels could look like, your different printing and customization options, and best practices for making high-quality labels.
(Note: asset, part, and work request portal QR codes are not available to customers on the Starter plan. To upgrade your account or learn more, reach out to us using the chat bubble or email support@limblecmms.com.)
Table of Contents
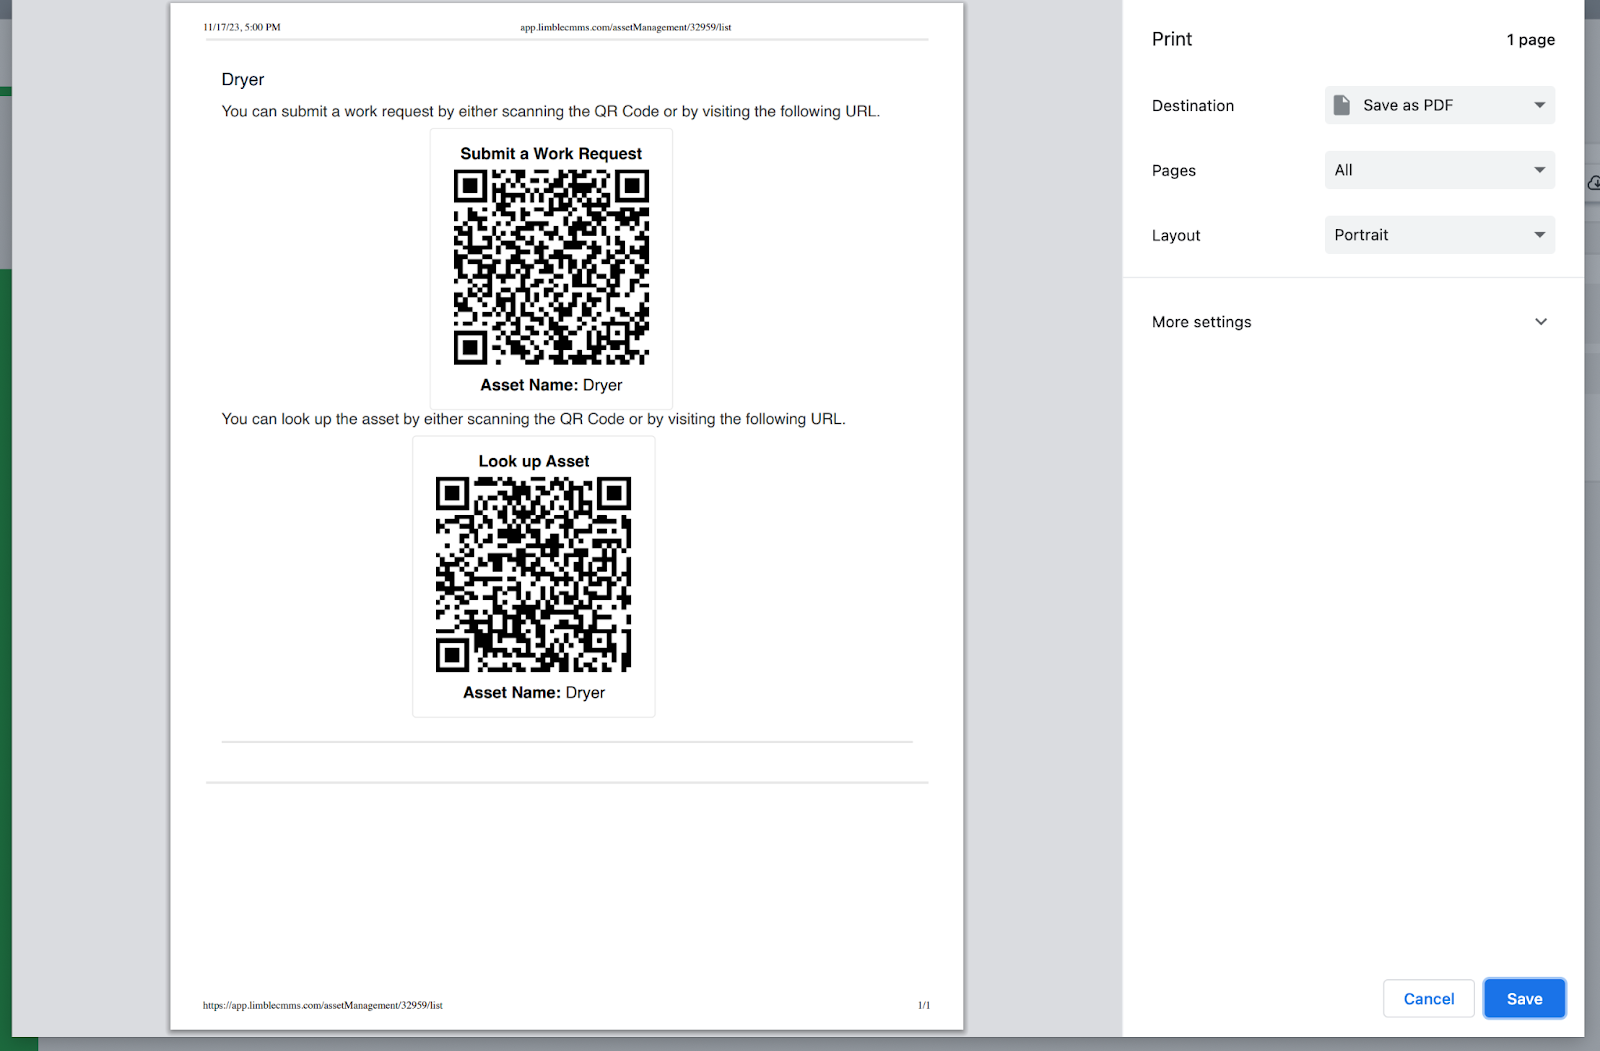
What the Label Will Look Like
To give you an idea of what to expect, a label with a QR code will look something like this:

The information included on your QR code label will vary depending on what it's for.
Printing and Downloading Options
You have 3 print/download QR code options: "Download URLs/Info," "Download Images," and "Print Options."
Download URLs/Info
Download URLs/Info
"Download URLs/Info" will export an .csv file of your selected QR codes. It will include the QR code URL and various info depending on the QR code type. URLs are most commonly used to generate QR codes in other label printing software.
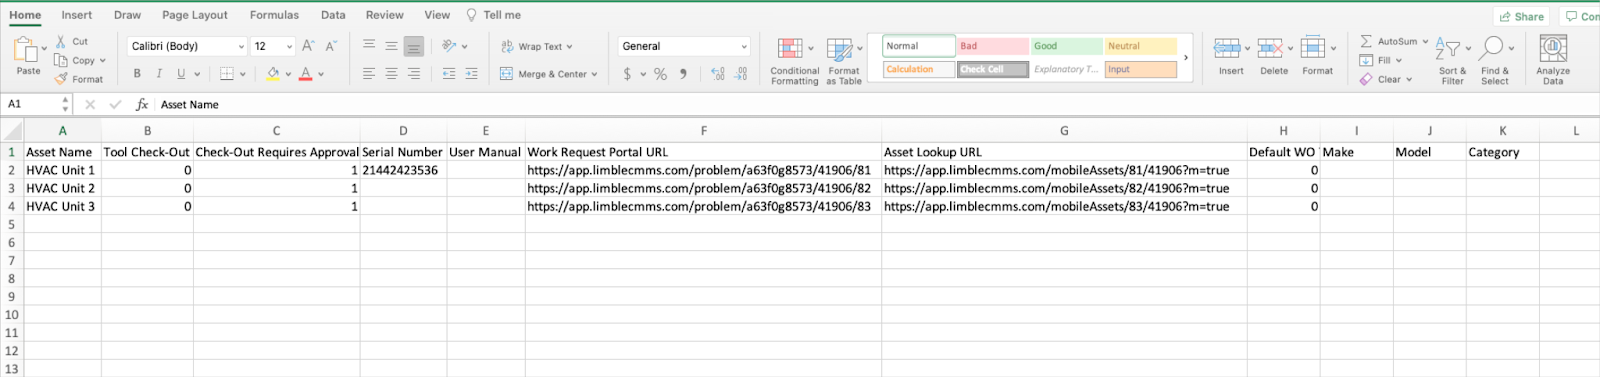
From the dropdown options:
Download Selected… will only download URLs and information for the QR codes you selected for your print.
Download All…. will download URLs for your entire library.
(Note: this option is not available for work request portals.)
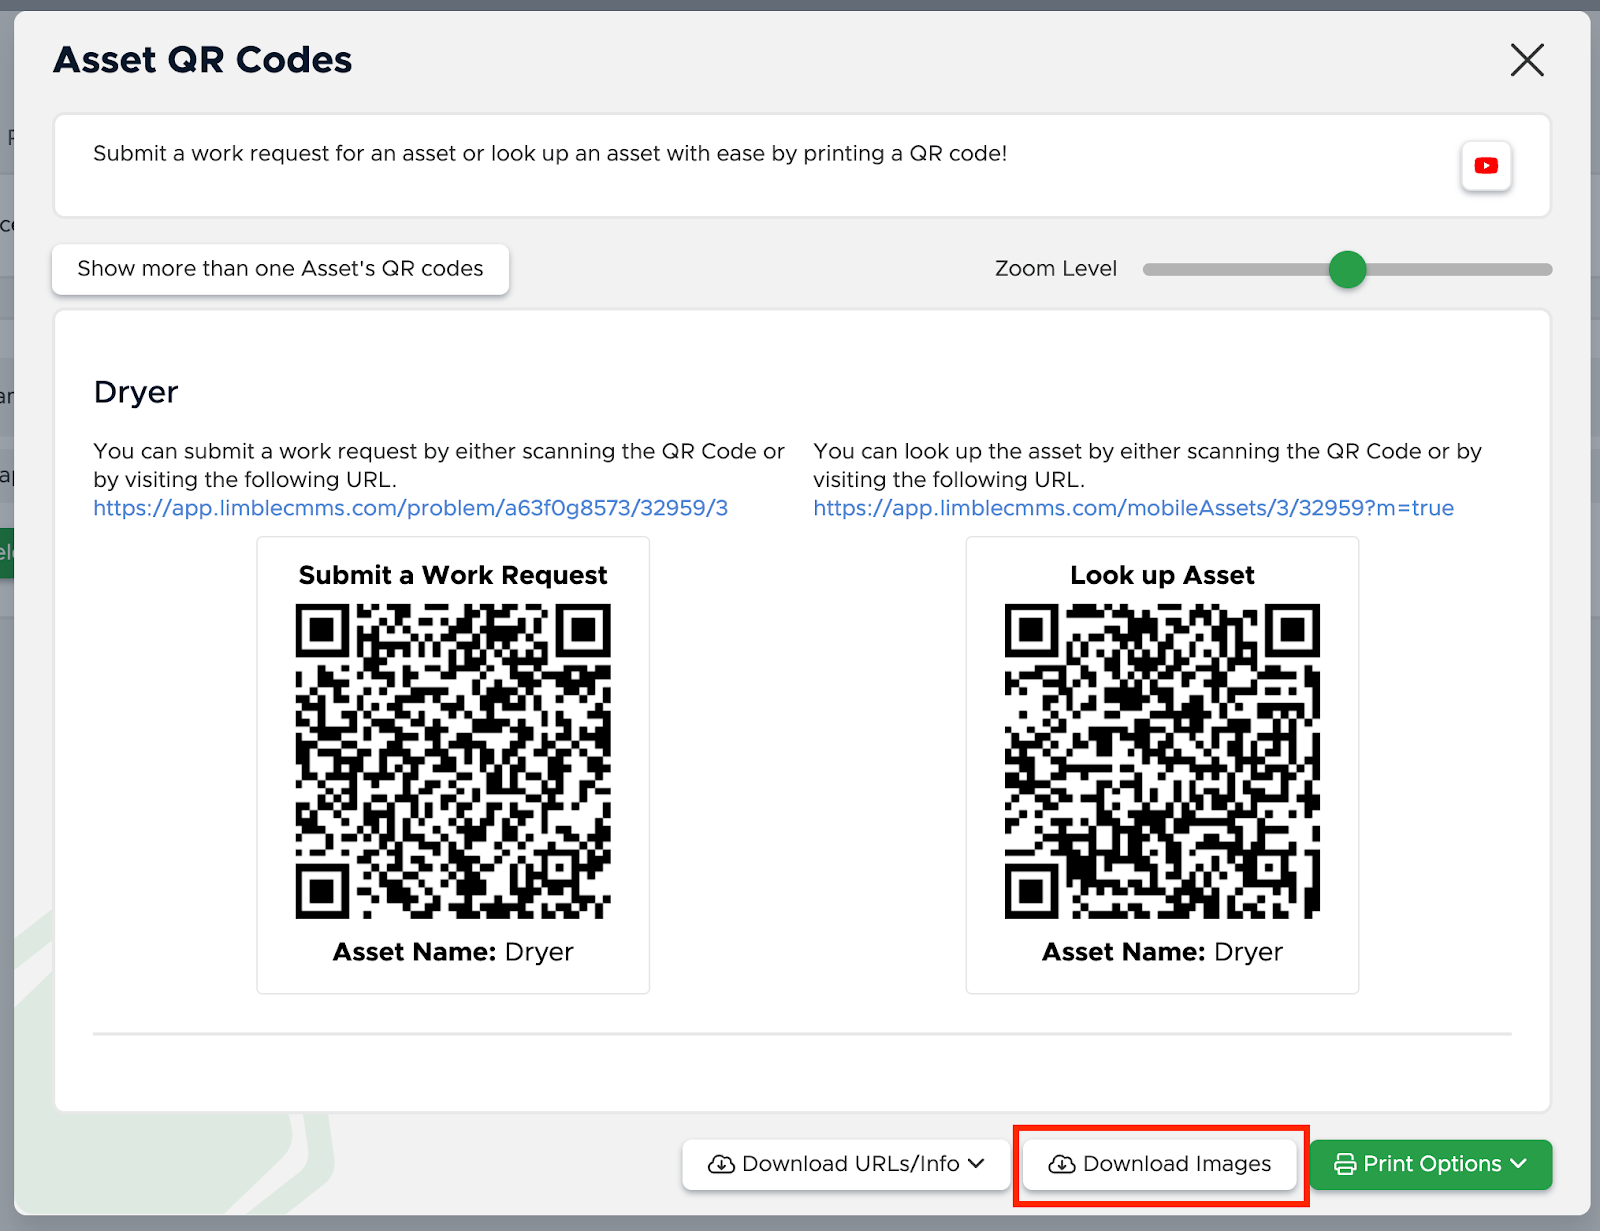
Download Images
Download Images
"Download Images" will export a .zip file of .pngs for all the QR codes you selected for your print.
Print Options
Print Options
Print Options allows you to print your QR codes and make customizable templates.
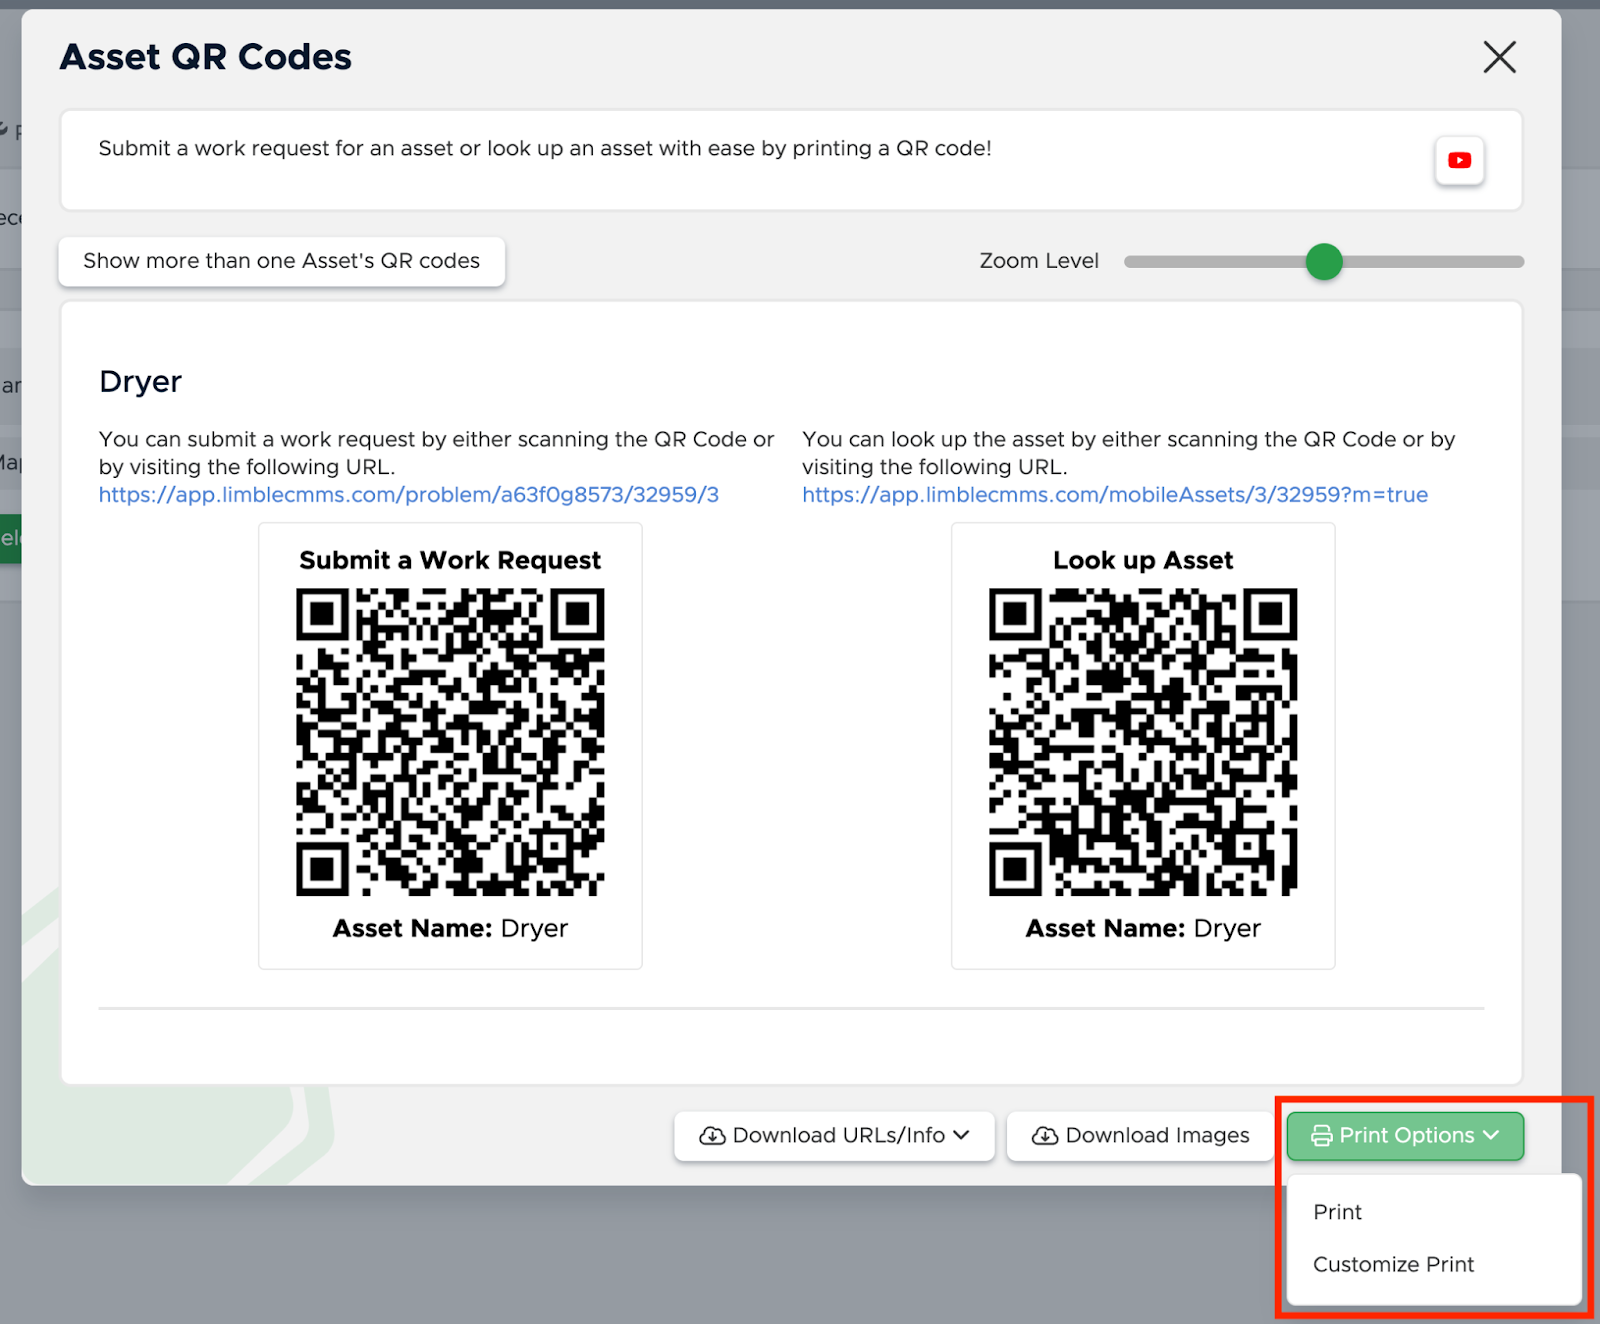
From the dropdown options:
Print will print all of your QR codes as is.
Customize Print allows you to make changes to your print and create print templates for future use.
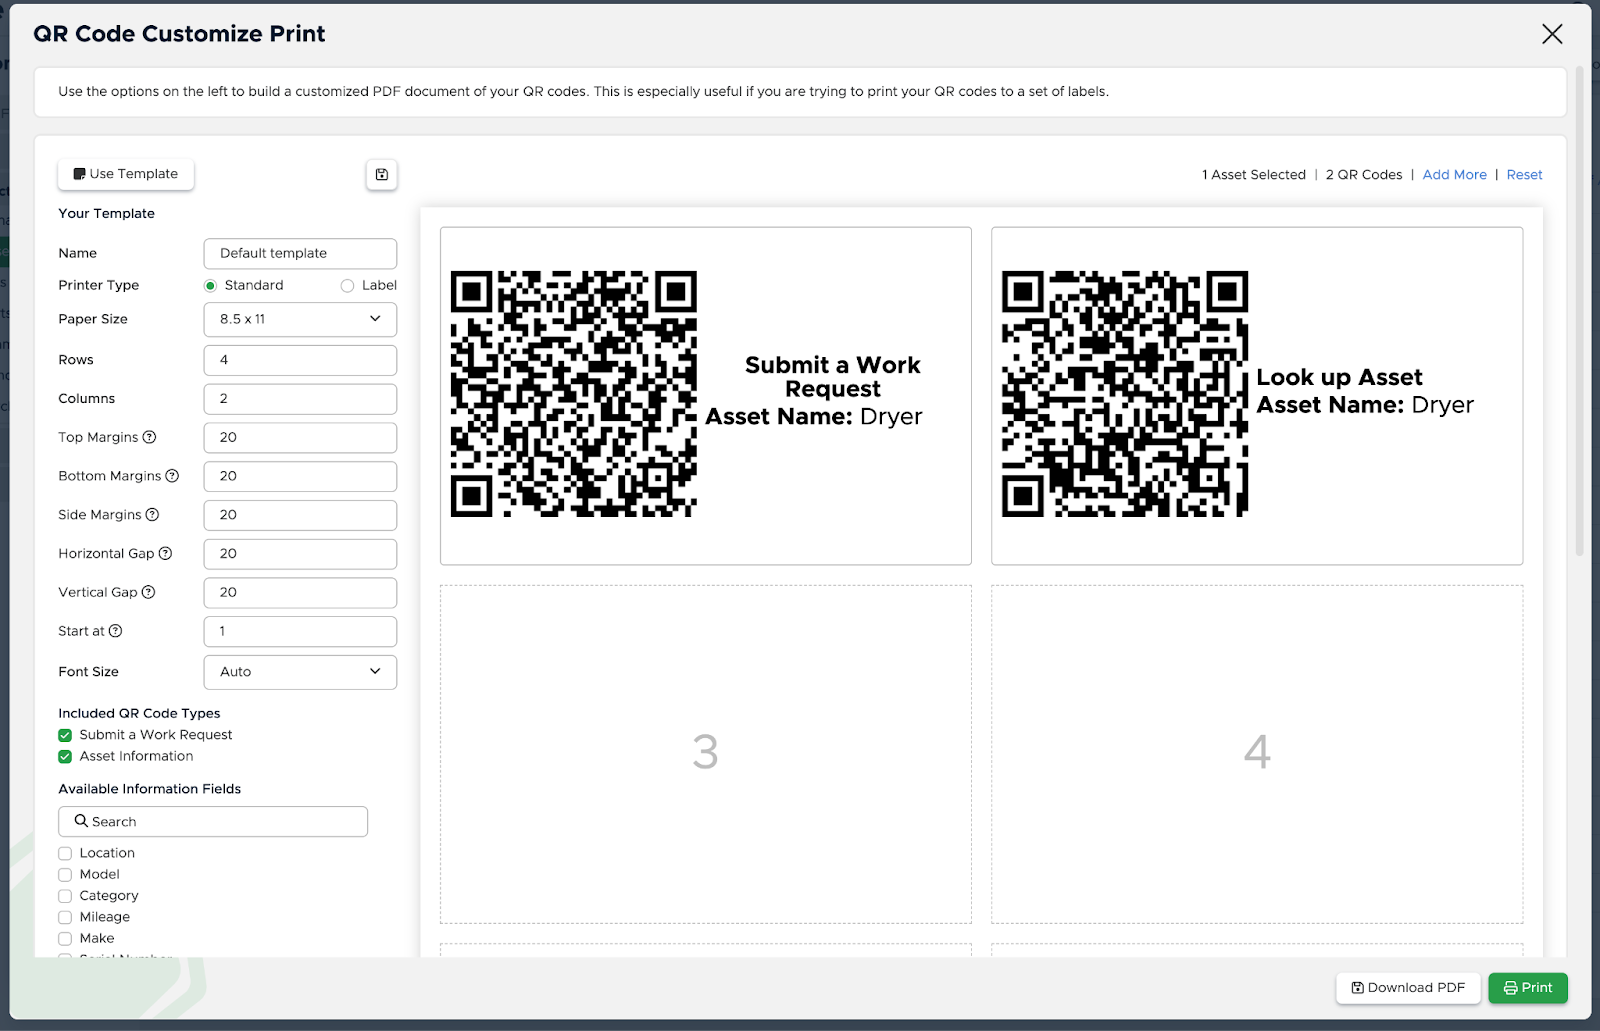
Customization Options
If you selected "Customize Print" from "Print Options," you’ll be able to customize your labels.
Limble offers lots of customization options so you can include as much or as little information as needed to make use of your labels.
Template Customization Options
Template Customization Options
Under the Template header, you can customize the following:
Name comes in handy if you want to save your template for future use.
Printer Type can be changed if you’re printing on a specialty label printer (again, this is not necessary for printing labels in Limble, but we offer the option.)
Paper Size (in inches)
Rows
Columns
Top, Bottom & Side Margins (in pixels)
Horizontal & vertical Gaps (in pixels)
Start at allows you to offset where the label generates on the page — great if you’re printing on a partially used sheet.
Font Size

Included QR Code Types
Included QR Code Types
Under the Included QR Code Types header, you can select which QR code types you'd like to print if more than one kind of QR code exists. For example, for assets you can choose to print both work request and information QR codes.

(Note: if you are printing labels for multiple assets, you will only be able to print off one or both types of QR codes.
For example, if you want work request QR codes for all of your selected assets, but only need asset information QR codes for some, you’d need to do both QR codes for all selected assets, or print each type of QR code separately. You will not be able to mix and match.)
Available Information Fields
Available Information Fields
Under the Available Information Fields header, you can include asset and part fields.
For example, you might want to include an asset’s make and model. For a part, you might want to include the vendor you purchased it from.

(Note: Available Information Fields is only available for asset or part QR codes.)
Add More
Add More
If you’re looking to bulk print labels and you didn;t add them, adding additional labels is easy to do.
Click on “Add More” and choose the assets or parts you want to include.

When you’re satisfied with your choices, click the “Select” button.

(Note: you cannot individually delete QR codes once you’ve added them to your sheet, so any deletions would result in starting your template over again.)
(Note: at this time, we are unable to support branding- or design-related customizations (i.e. adding images or logos, custom fonts and colors, etc). If these are important for your organization, we recommend using Avery’s free label printing software to further customize your labels.)
Creating Print Templates
Once you’re satisfied with your customization options, you can save your templates for future use.
To save your print customization options as a template, make sure to name the template in the Name field. Then, click the save (floppy disk) icon.
This will automatically save your print customization as a template.
If you need to use your template at a later time, select the “Use Template” button, and choose your desired template from the dropdown.
If you make updates to your template, select the save (floppy disk) icon to save your changes.
You can make a copy of your template by clicking the duplicate icon.
From here, you can select “Download PDF” to download your print as a PDF, or “Print” to print as desired.
Printing Best Practices
Printing your labels the right way will save you future headaches. Here’s what we recommend to make the best use of your labels:
Use durable-grade labels. This will help your labels withstand harsh conditions and temperatures, and last longer. We recommend labels like these from Avery.
Keep your labels simple. Avoid adding too many information fields, as this will make it harder for you and your team to read the label!
QR codes should be at least 1 inch in size. Anything smaller than 1 inch is difficult to scan and use.
Related Articles
Still don’t see what you’re looking for? Check out our YouTube channel for more tips and tricks! You can also reach out to us anytime at support@limblecmms.com.